 Work in progress , this post is full of typo and not done yet
The purpose of this post is to help you to setup your developer environment on Windows.
Do not get afraid by the size of this thread there is a lot of pictures.
The goal here is to make you gain a lot of time, if you start from 0 you will probably spend
30 minutes / 1 H setting up all this tools. But it will make you save a lot of painful hours of debugging
I start this tutorial with a machine with 0 tools installed, so if you follow it step by step you will have a clean environment, you will learn many things and you will have 0 Bug.
- Set the correct authorization on you windows system
- Download and install Choco (package manager)
- Install easily All the packages you need
- Install your tools related to blockchain development
- Test applications WIP
- Troubleshooting WIP
Set the correct authorization on you windows system
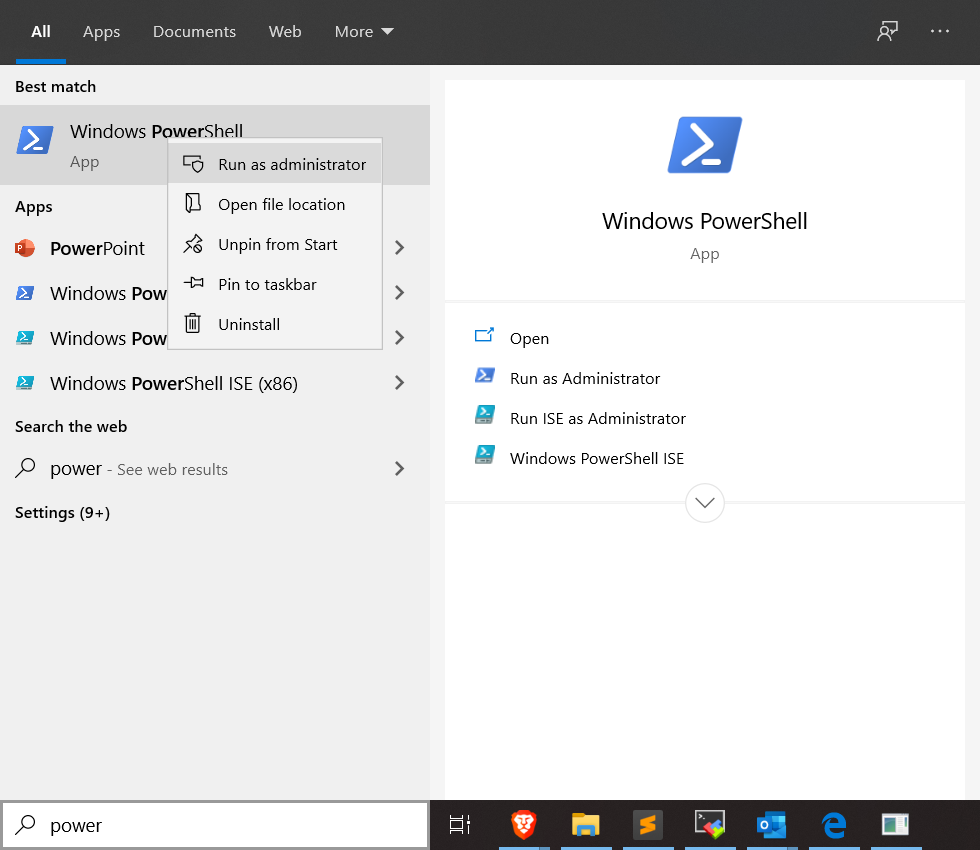
1.First step launch powerShell with the administrator right
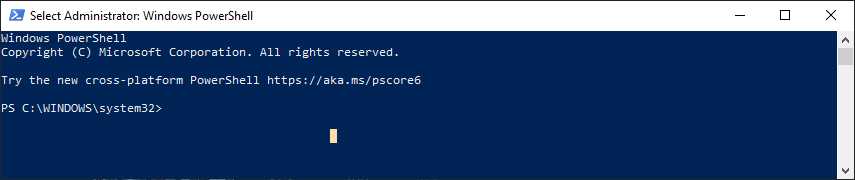
A prompt will show up
Verify that you have the correct permission, windows check if the script has a valid signature.
Type the following command to check the permission
Get-ExecutionPolicy
In my case it Unrestricted, you can change it to Allsigned with the following command
Set-ExecutionPolicy AllSigned

Press Y for yes
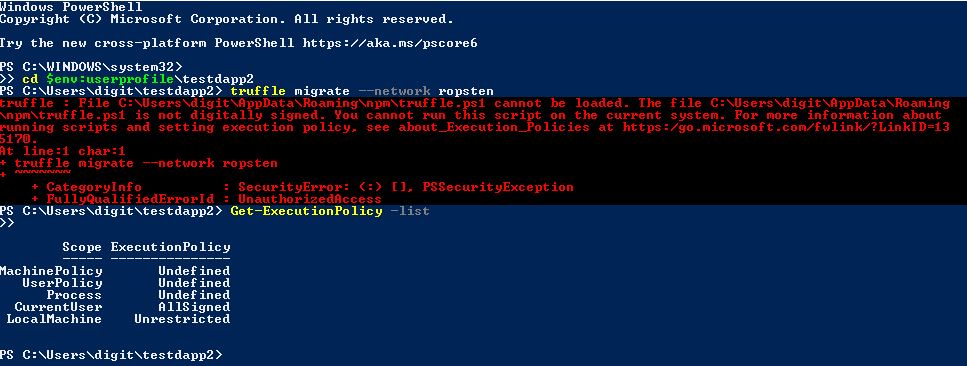
If you have an error look at this othewise go to step 2
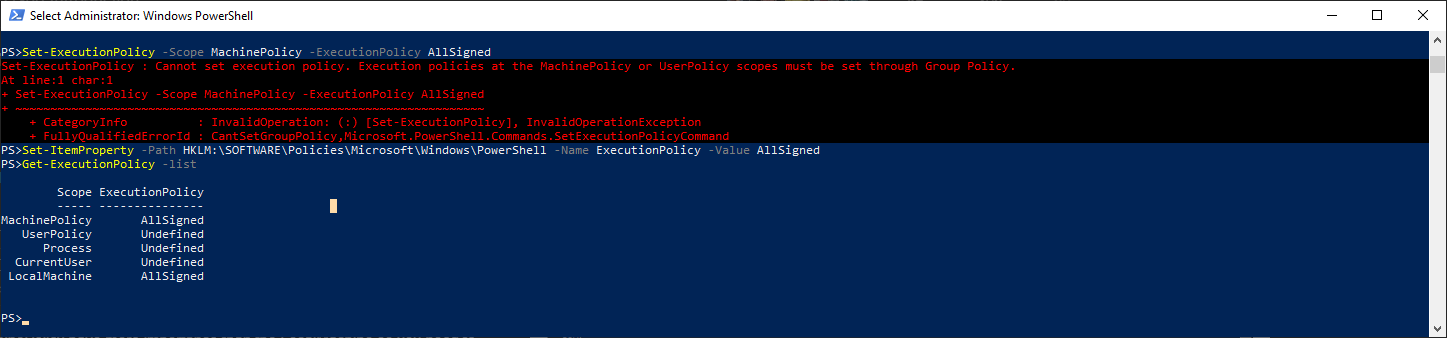
If you have this error it’s because a rules has been set at a higher level

Type the following command
Get-ExecutionPolicy -list

As you can see the MachinePolicy have more importance than the LocalMachine so you need to change it.
To do it type the following command
Set-ItemProperty -Path HKLM:\Software\Policies\Microsoft\Windows\PowerShell -Name ExecutionPolicy -Value ByPass
PWD my sys Admin 

Download and install Choco (package manager)
- Download choco
Choco is a package manager it will allow you to install package with the command line, it’s like apt, yum for linux distribution.
The installation script for choco is located in an https url, so you will have to set windows to use the last version of TLS. By default it’s using TLS 1.0 so we ll force windows to use the last version with this command.
[Net.ServicePointManager]::SecurityProtocol = "Tls12, Tls11, Tls"
You need to install choco in your user directory, by default you are located in the system32 folder which is a really bad place to install program
type the following command
pwd #this will show you where you are located
then
cd $env:userprofile\Desktop # to move to your user user Desktop

Now we are ready to download the installation script
type this command
Invoke-Webrequest -Uri https://chocolatey.org/install.ps1 -OutFile chocolatey-install.ps1
Then to make sure this is correctly downloaded type
cat chocolatey-install.ps1 | more
If you can see the readme as in my screenshot just type the letter
q

- Install Choco
Choco will recommend you to install the binary with the execution policy to Bypass.
But because i m a paranoid i ll run it with AllSigned.
Set-ExecutionPolicy AllSigned -Scope Process -Force; [System.Net.ServicePointManager]::SecurityProtocol = [System.Net.ServicePointManager]::SecurityProtocol -bor 3072; iex ((New-Object System.Net.WebClient).DownloadString('https://chocolatey.org/install.ps1'))
And Also because i m paranoid i ll type one hundred times R because i want to check when those scripts are used, but you can type A instead

After the installation you will have few warning don’t worry about it.
To make sure it’s installed successfully type the following command
choco list

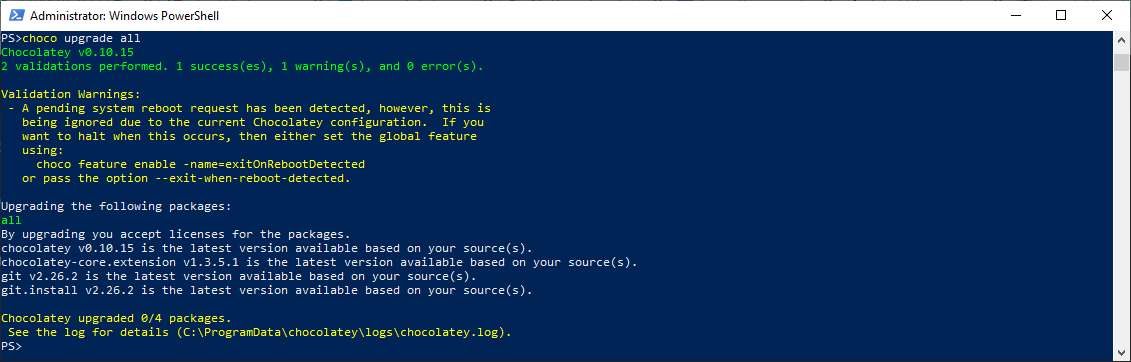
You will have to upgrade all choco packages to make sure you are ready to go
choco upgrade all
Now restart your computer !
Install easily All the packages you need
Ok now as a developer you will need one package really useful GIT
If you think usb key or DropBox is the only way to share files this will change your life
Btw this is the best tutorial in the WORLD if you want to master git
https://learngitbranching.js.org/
Ok so let’s install git
choco install git
Press A during the installation
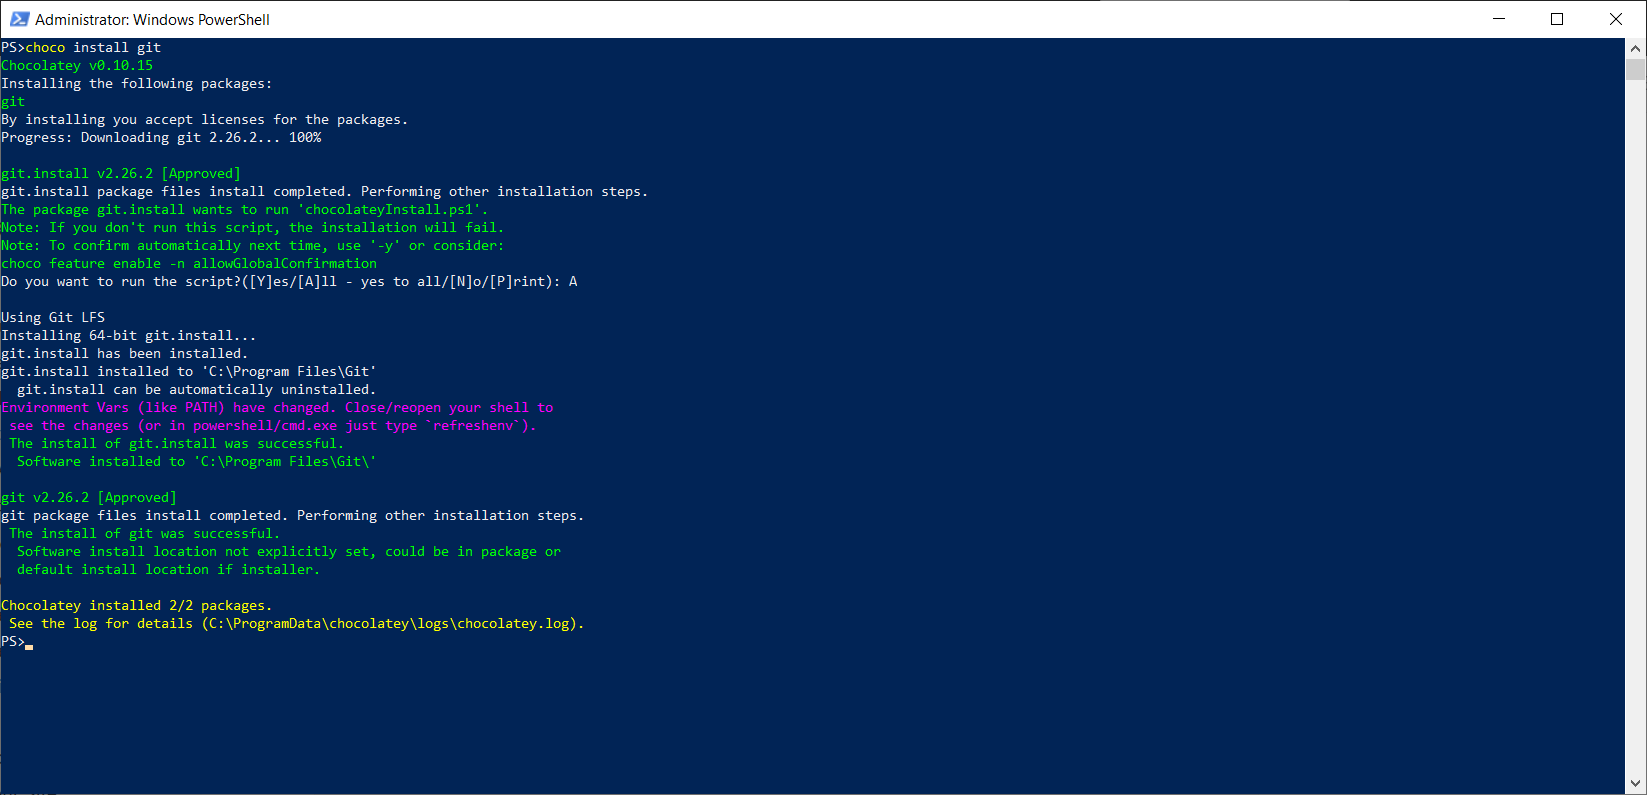
When the installation is complete type
git --version

If you have this kind of message, restart your terminal

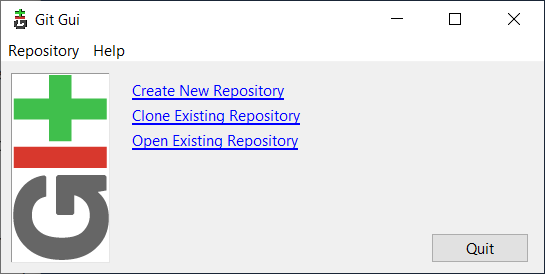
Three binaries are installed git git-gui.exe and git-lfs.exe
If you are not really familiar with git start with git-gui.exe , or do the tutorial linked above
Now we are going to install Node (we are close guys) here 2 options you can install node directly with choco or install it with nvm. I ll encourage you to use Nvm as you can change of node version when you want instead of installing multiples version of node in your machine.
- Installation with Nvm
Now we will install nvm (Node Version Manager) nvm is really useful because you will not have to install multiples version of node on you machine, you will be able to change whenever you want.
choco install nvm
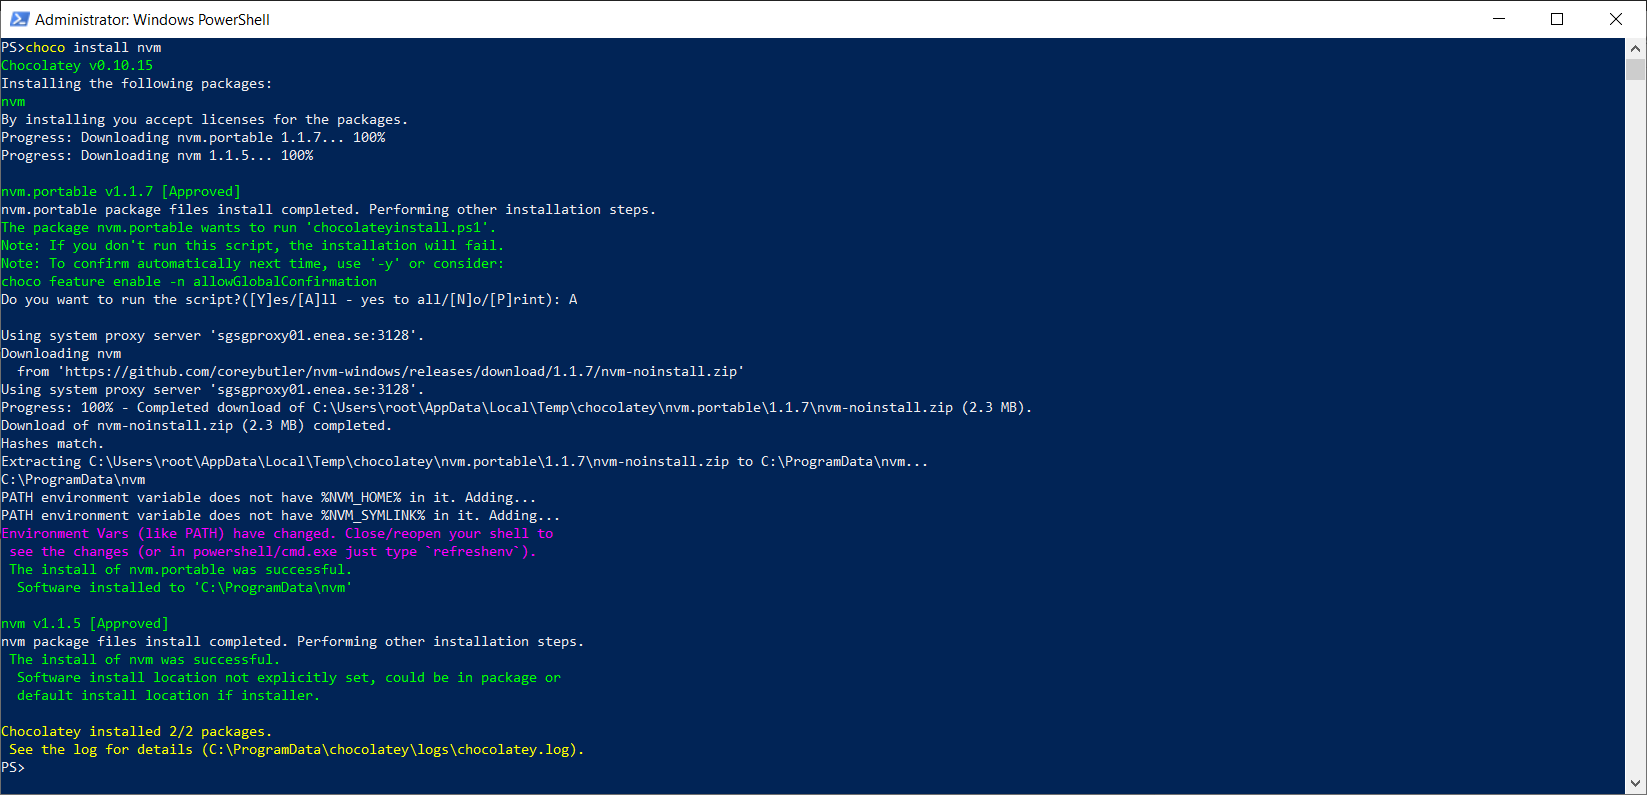
Now check if nvm has been installed
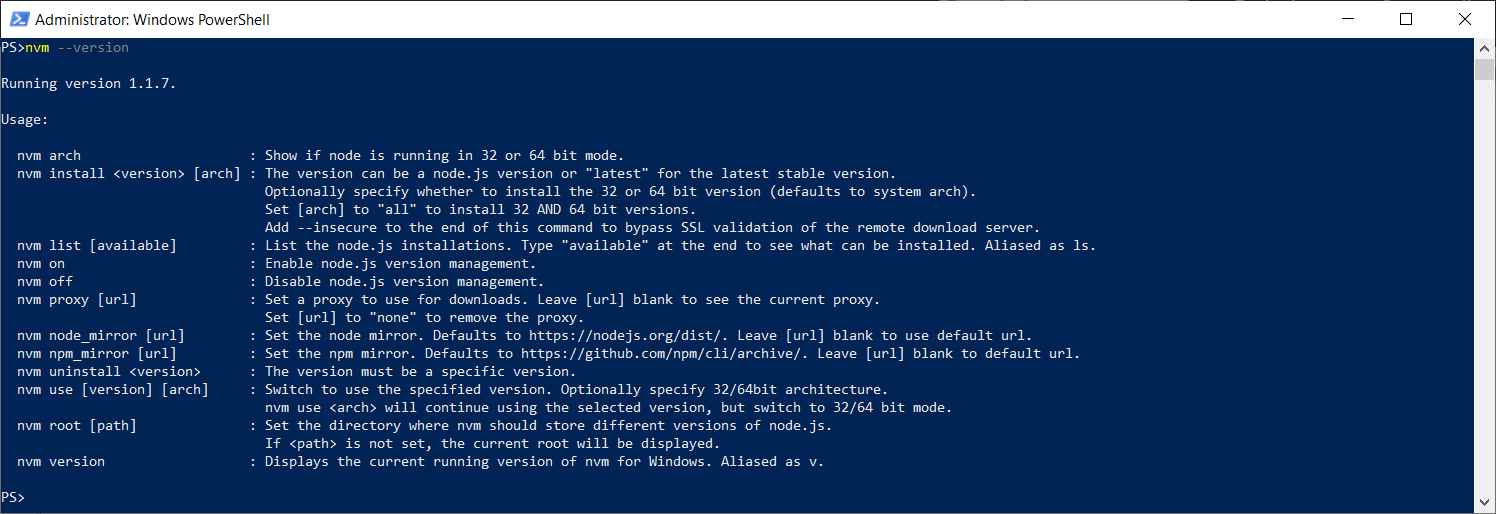
If you have this kind of message, restart your terminal
Now you can choose the node version you need.
type
nvm list available
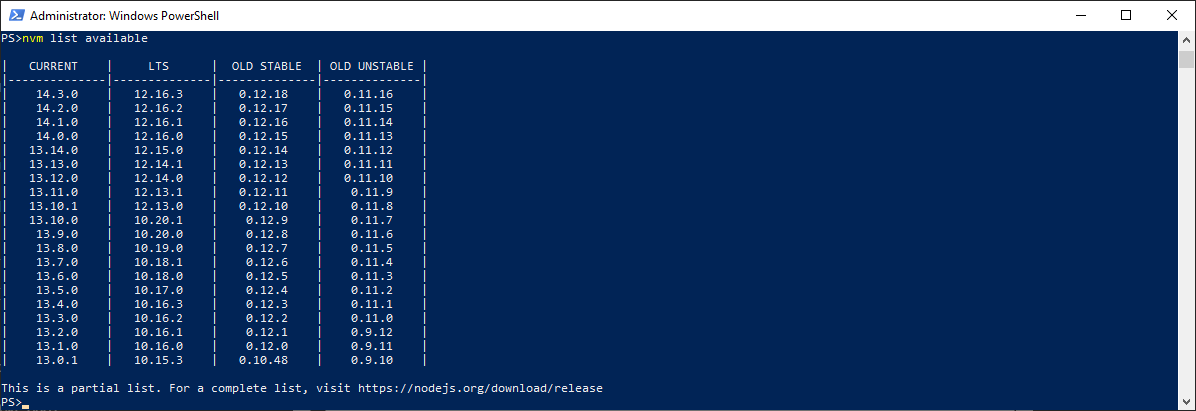
We will start with node 12.16.3 always choose an LTS version (Long Term Support)
Type
nvm install 12.16.3
nvm use 12.16.3
Make sure node is installed
node --version
npm --version

Install your tools related to blockchain development
Now we will install the required development tools for windows
type
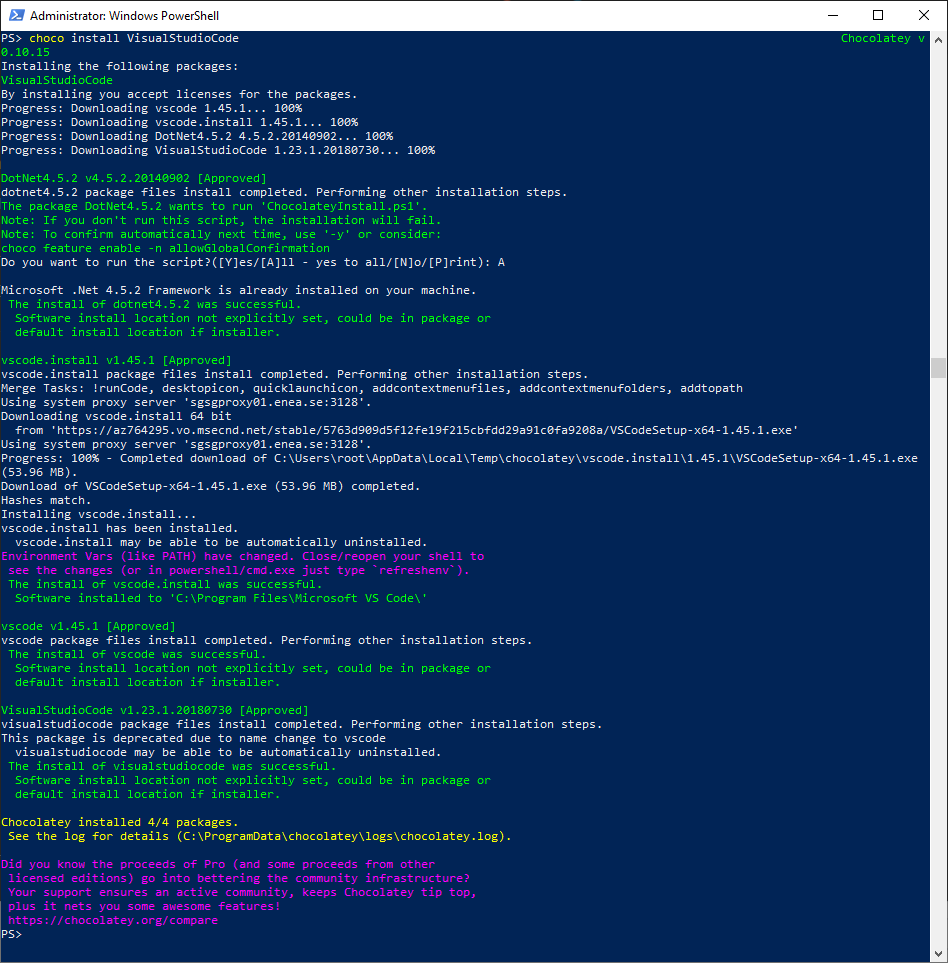
choco install VisualStudioCode
Now we will install the windows build tools
npm install -g -production windows-build-tools
Don’t worry the installation can take up to 5 minutes and your screen will look like this. It’s long but i promess you it ll be done before the end of this video
- Ganache
Ok now we will install ganache-cli , ganache allow you to run a local version of the ethereum blockchain . You will need it during the course , you can still install the GUI version here
https://github.com/trufflesuite/ganache/releases/download/v2.4.0/Ganache-2.4.0-win-x64.appx
But i like using my terminal.
Type
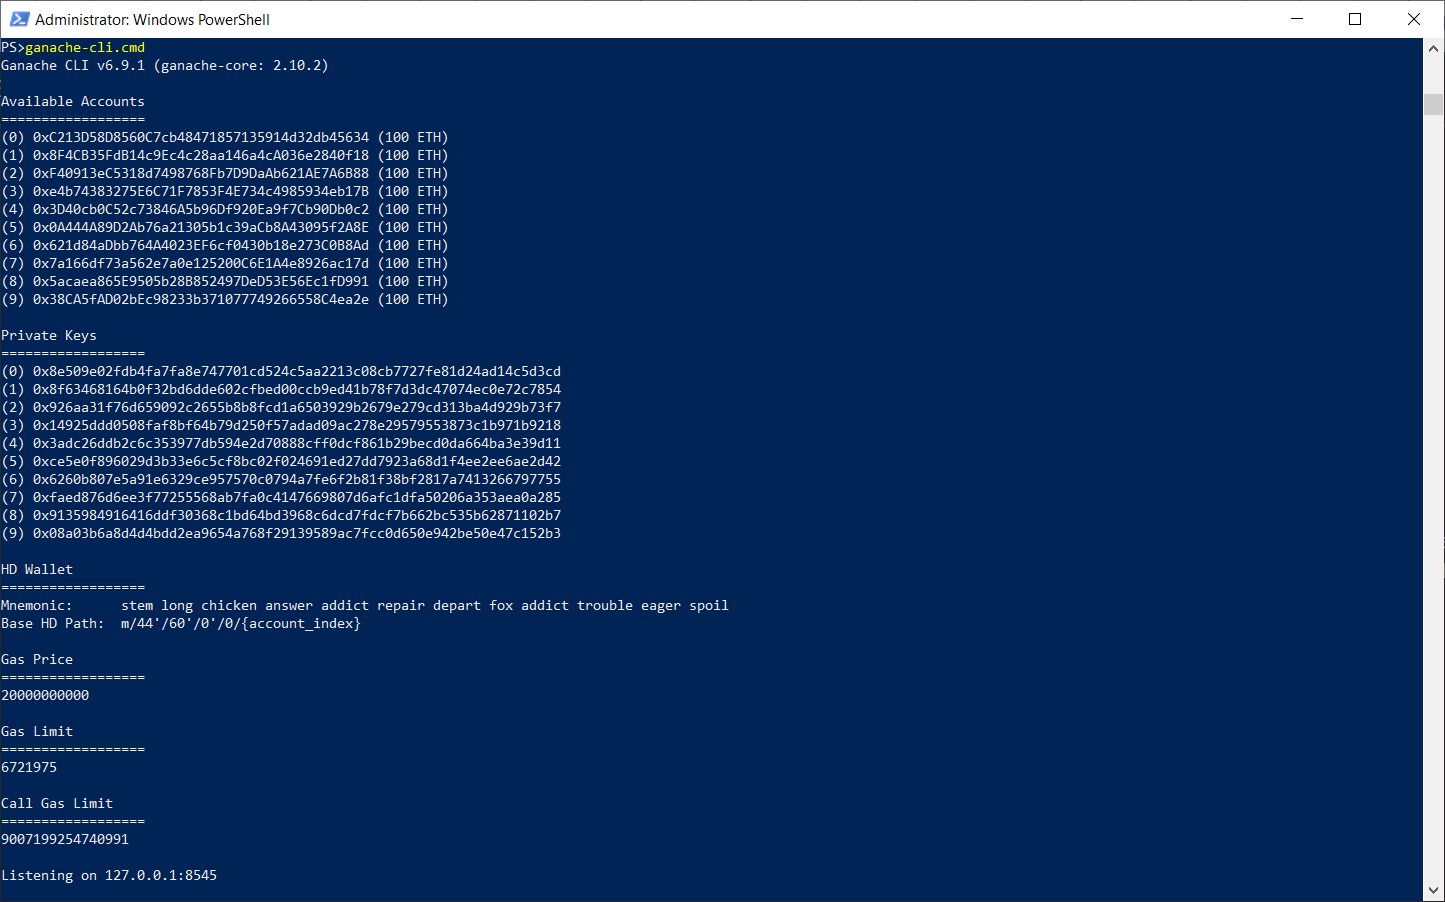
npm install -g ganache-cli

then verify
ganache-cli.cmd
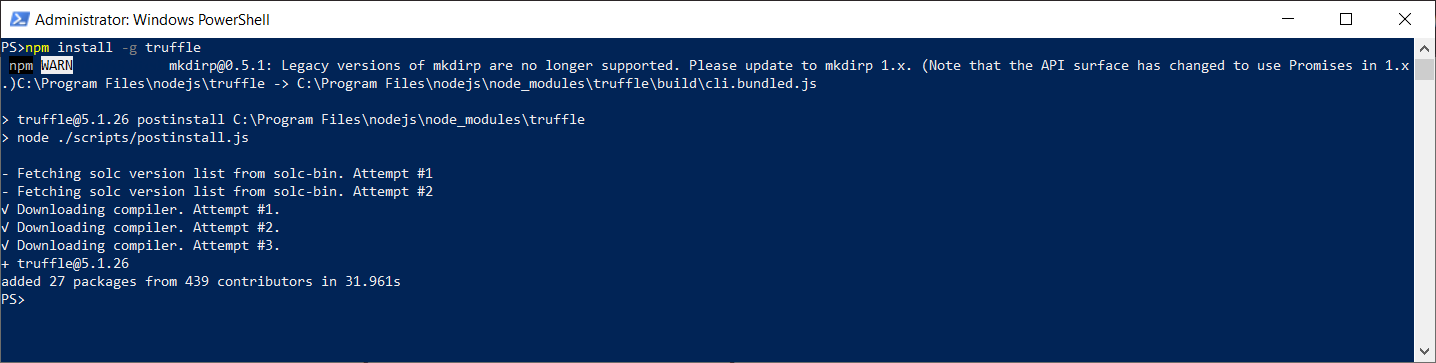
- Truffle
Well i wasn’t able to compile with an other truffle version than 4.1.17 so i ll recommend you to use this one , if you have found an other way let me know in this topic.
type
npm install -g [email protected]
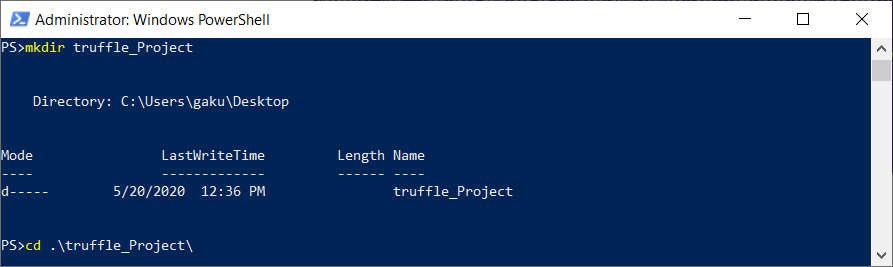
To verify create a directory first then initialize your truffle project
mkdir truffle_project
cd .\truffle_Project\
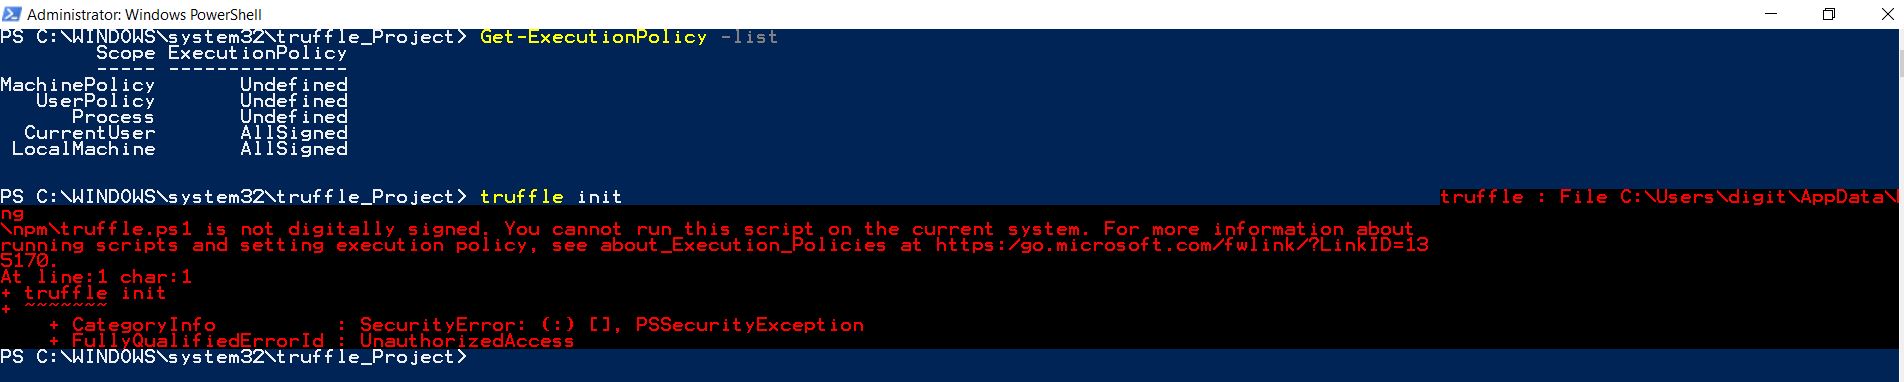
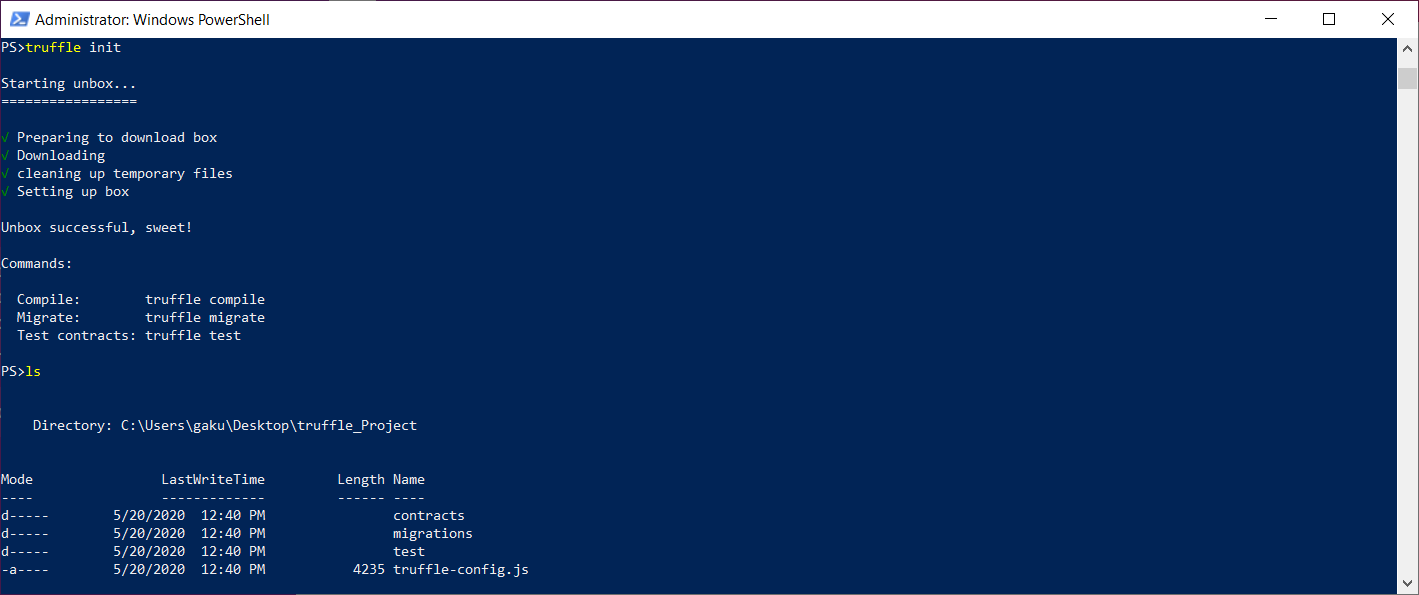
truffle init
If you have this issue try again
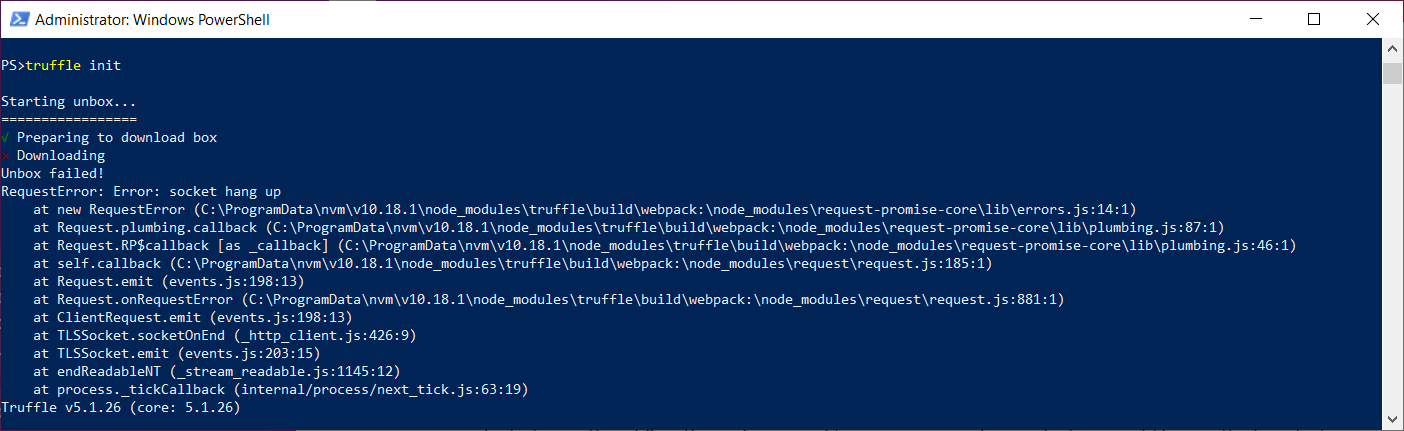
Solve after retrying let me know if you know why
Test applications
- Test if “truffle compile” working
Ok now let’s try everything in one project.
cd $env:userprofile\Desktop #Go to your desktop
mkdir test_pet_shop #create a new folder
truffle unbox-pet-shop #pull a project already availble on truffle website
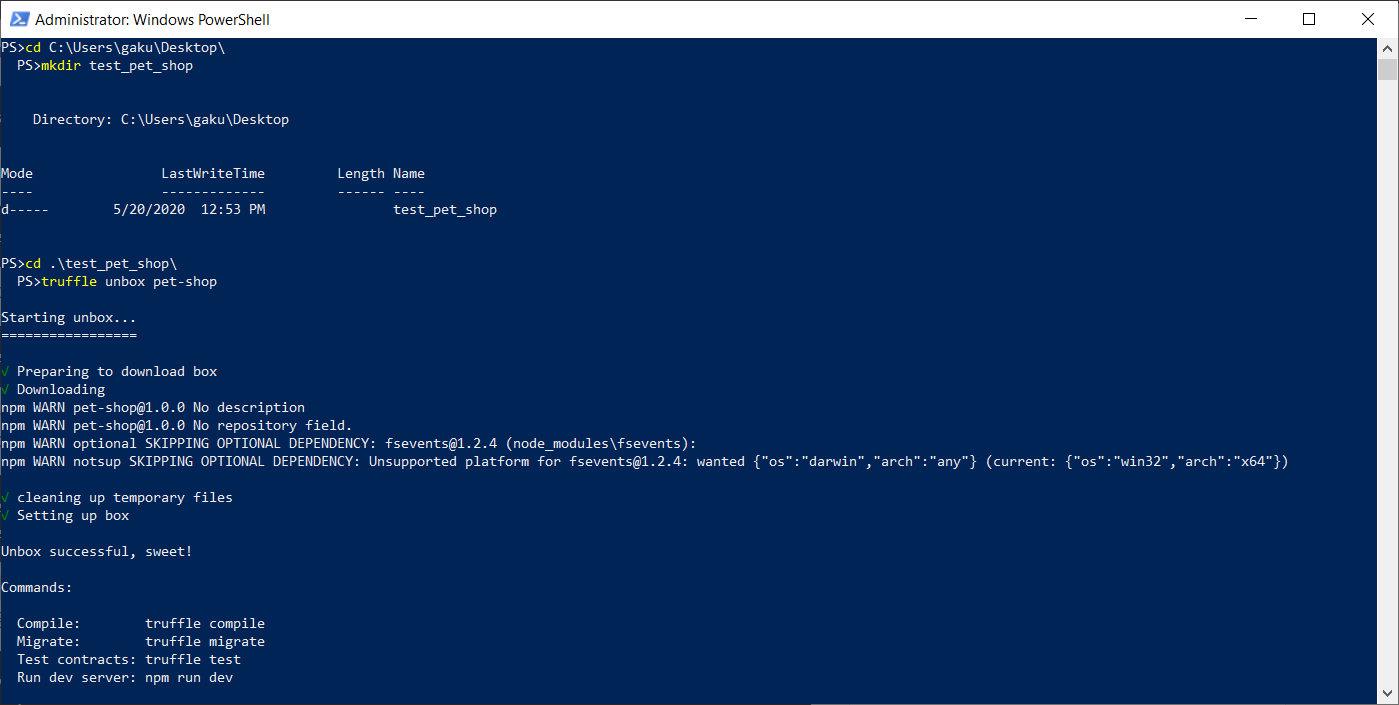
truffle compile

- Test a basic test locally
git clone https://github.com/filipmartinsson/solidity-201.git
cd .\solidity-201\Testing Part 2\
rm .\build
If you have follow the tutorial vsCode is installed so you can type
code .
And you will see this windows

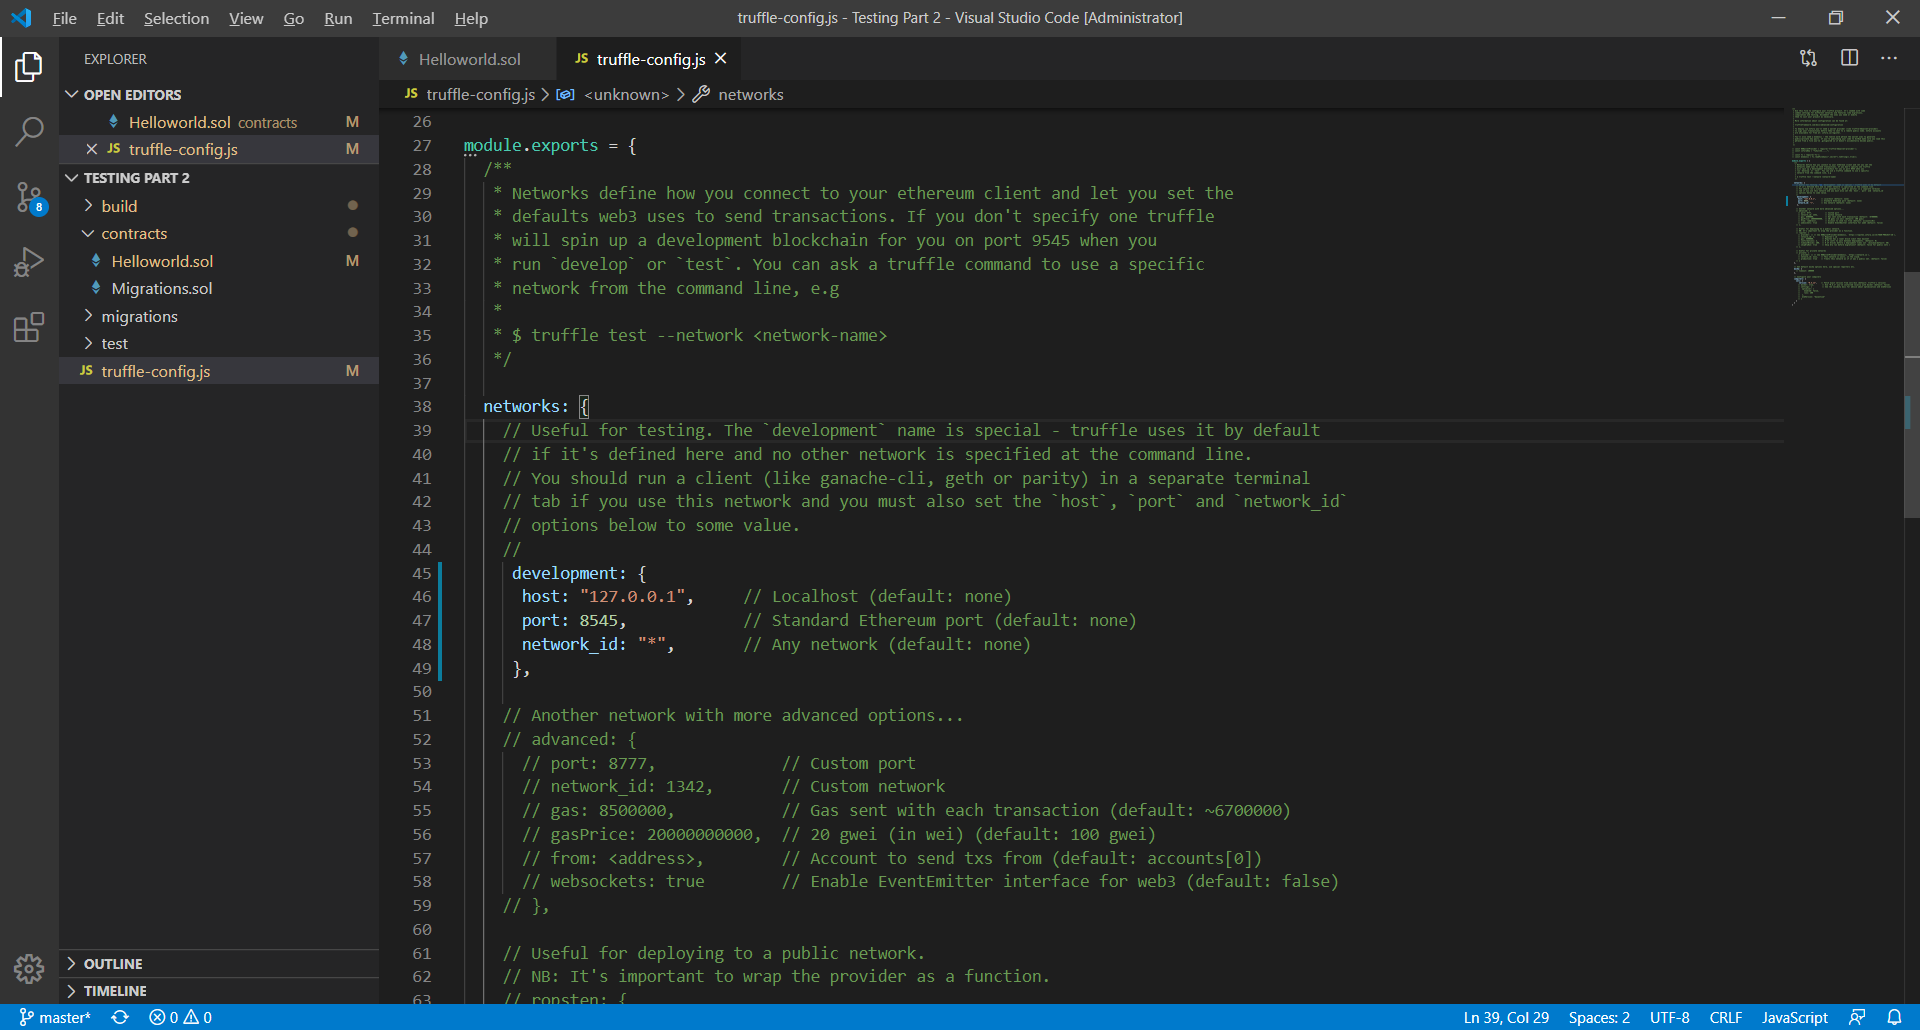
Otherwise open your favorite text editor and modify the following lines.
in truffle-config.js
line 45
     development: {
      host: "127.0.0.1",     // Localhost (default: none)
      port: 8545,            // Standard Ethereum port (default: none)
      network_id: "*",       // Any network (default: none)
     },
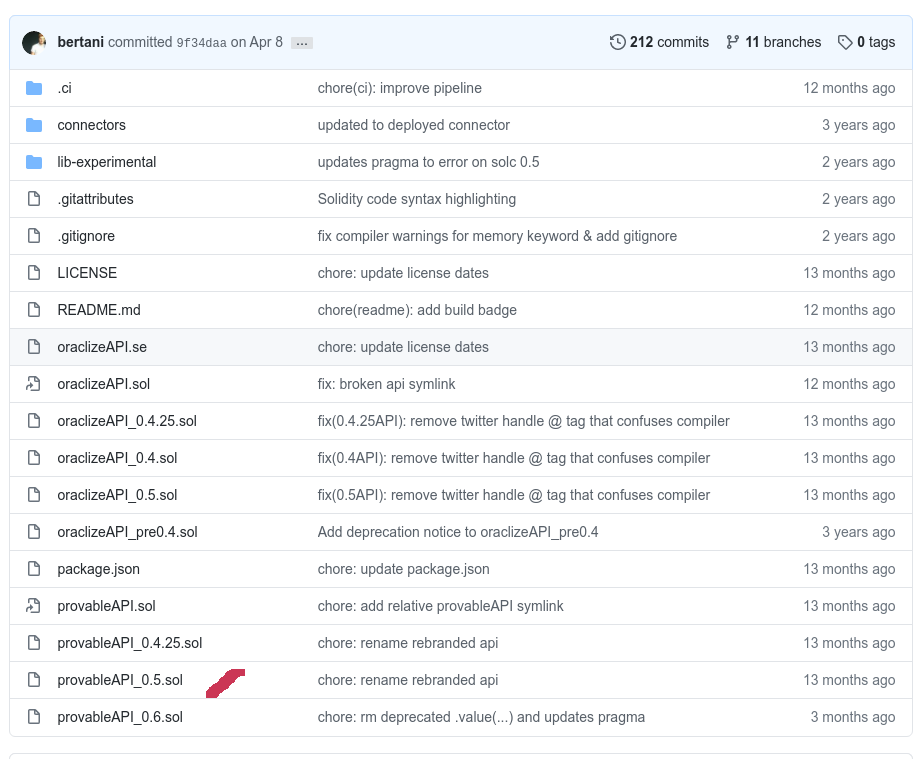
in Helloworld.sol change the first line
pragma solidity >=0.4.21 <0.6.0;
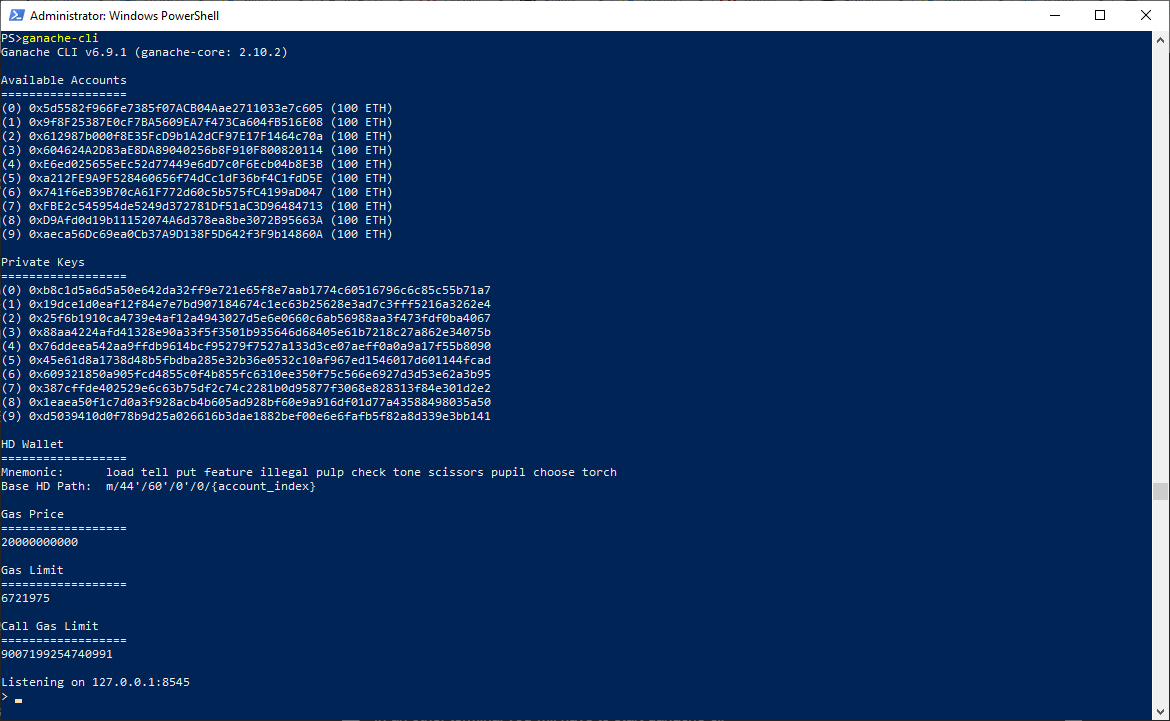
In an other terminal you will have to start ganache-cli
just type
ganache-cli
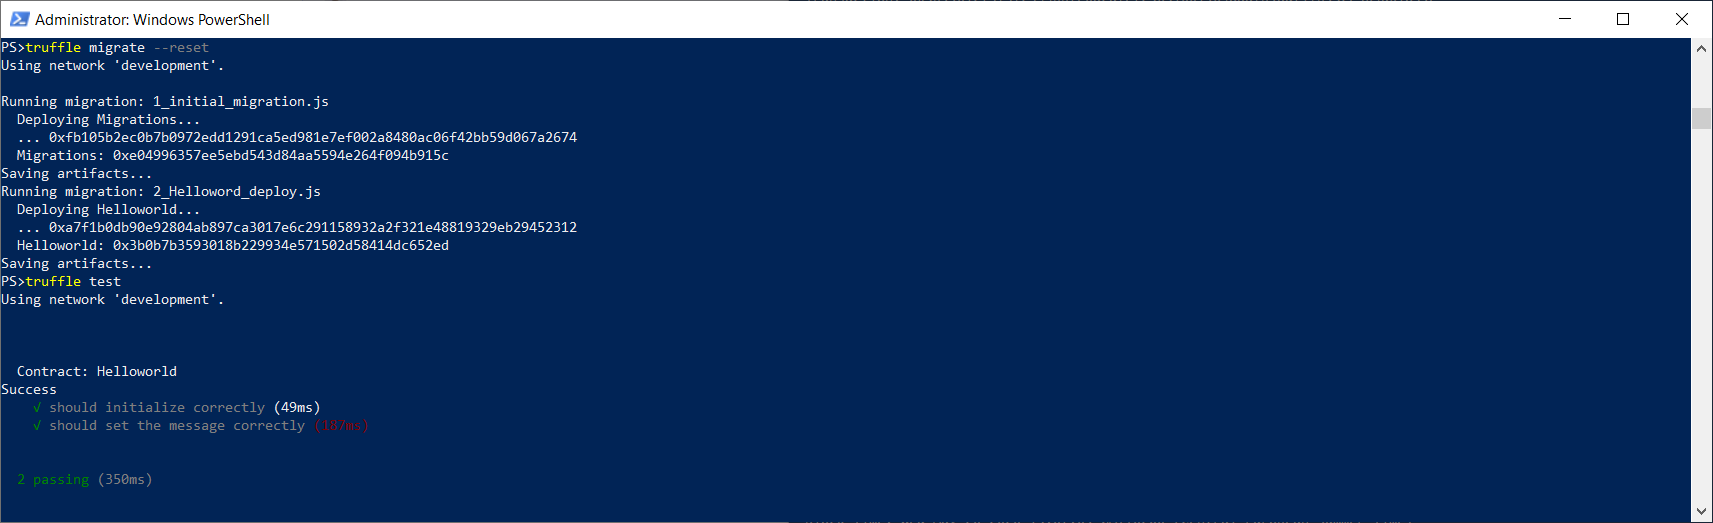
In your first terminal you can now test if the test is working
- Testnet Ropsten
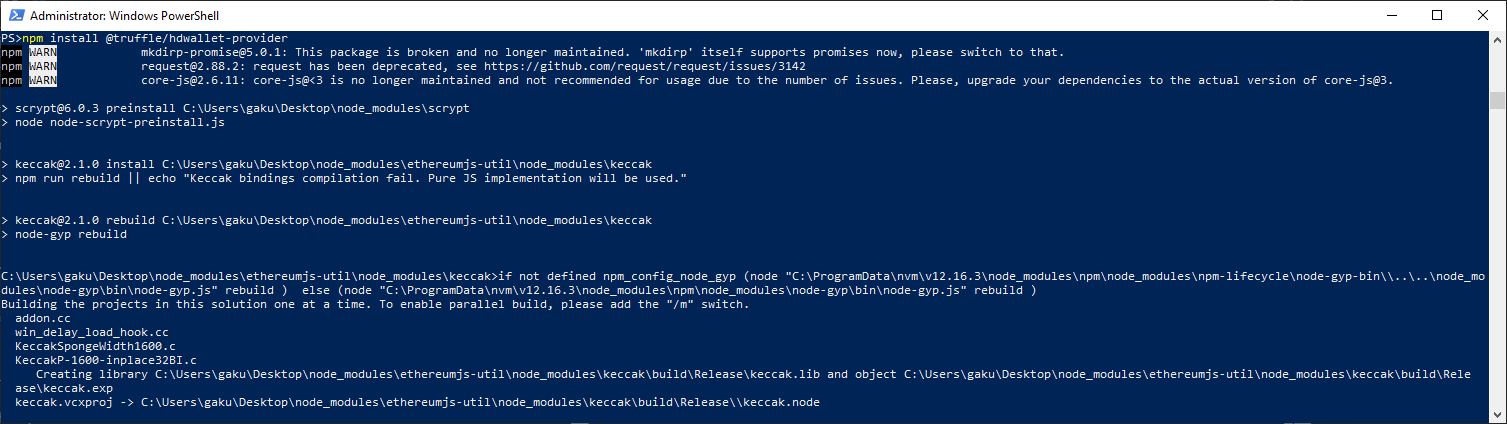
As truffle-hdwallet-provider is deprecated we will install the new version
Go into your project directory and install this version
type
npm install @truffle/hdwallet-provider
npm install fs
npm install path
Now you need to modify your truffle-config.js with the following code
const path = require("path");
const HDWalletProvider = require("@truffle/hdwallet-provider");

const fs = require('fs');
const mnemonic = fs.readFileSync(".secret.txt").toString().trim();

module.exports = {

  contracts_build_directory: path.join(__dirname, "client/src/contracts"),
  networks: {
    ropsten: {
       provider: () => new HDWalletProvider(mnemonic, `https://ropsten.infura.io/v3/PROJECT_ID`),
       network_id: 3,       // Ropsten's id
       gas: 5500000,        // Ropsten has a lower block limit than mainnet
       confirmations: 2,    // # of confs to wait between deployments. (default: 0)
       timeoutBlocks: 1000,  // # of blocks before a deployment times out  (minimum/default: 50)
       skipDryRun: true     // Skip dry run before migrations? (default: false for public nets )
    },
  },
  compilers: {
    solc: {
      version: "0.5.12",    // Fetch exact version from solc-bin (default: truffle's version)
    }
  }
};
We will use infura so you need to create an account here
https://infura.io/
Create a new project, in setting you will find your project id, replace the PROJECT_ID in the above config with your project id.
Create a file name .secret.txt and copy your metamask seed phrase
truffle migrate --network ropsten --reset

Result